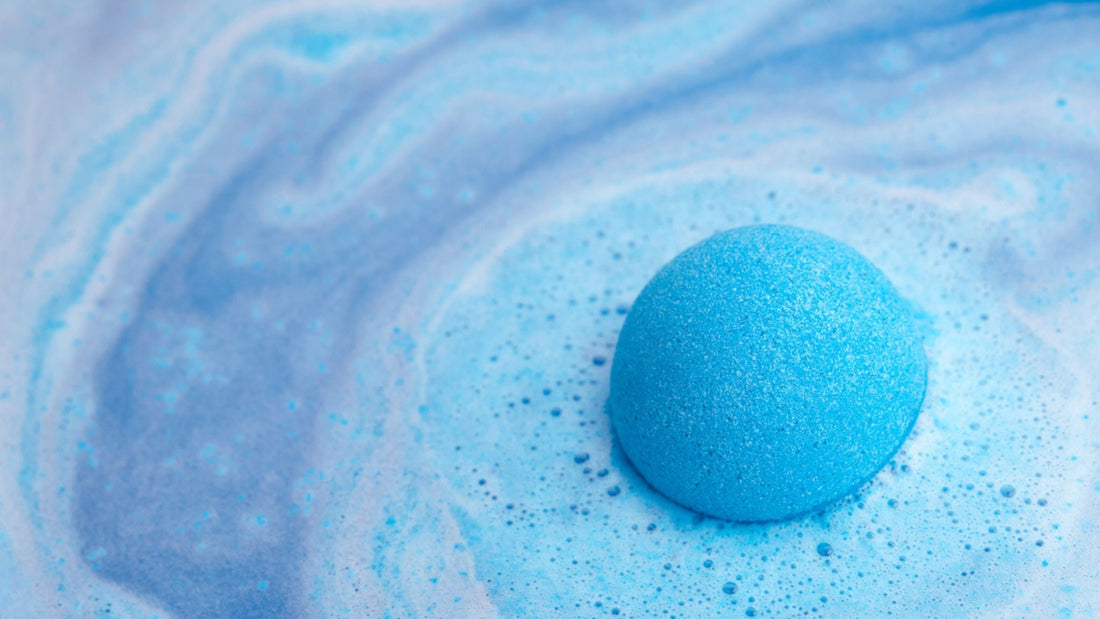
Who doesn't love bath bombs? They're bubbly, colourful and smell amazing!
It goes without saying that bath bombs are very relaxing and enjoyable. But they're also great for the skin as they are soothing and moisturising.
Buying bath bombs can be expensive and they often contain artificial fragrances and dyes. When making bath bombs at home you can use natural oils, colours and fragrances!
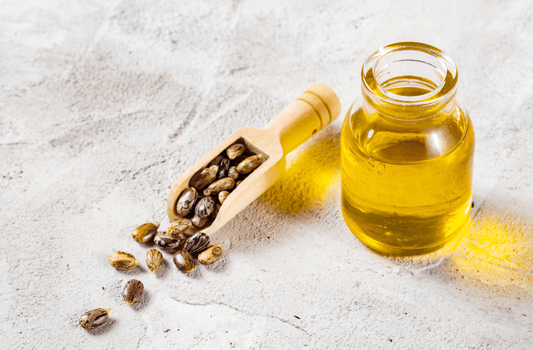
The key ingredients that make bath bombs fizz, is citric acid and baking soda/ bicarbonate of soda. Other ingredients like natural salts, cream of tartar can be added to add extra quality to the bath bomb. Carrier oils then help bind the ingredients together and add nourishing properties to the bath bomb.
Homemade bath bombs are great as you can customise them with your favourite colours, scents and patterns! They are also perfect for homemade gifts!
Read on to find out how to make your own bath bombs...
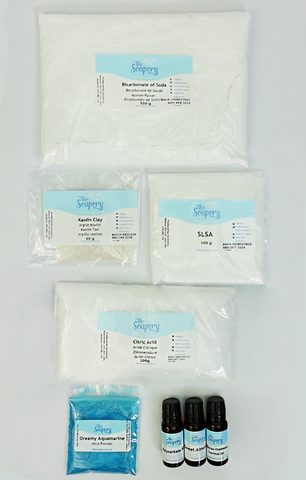
Ingredients:
This diy bath bomb recipe makes 3 bath bombs.
-
Bicarbonate of soda 250g
-
Citric acid 130g
-
Kaolin clay 3g
-
SLSA 3.5g
-
Water 2g
Equipment:
-
Bath bomb mould
-
Large mixing bowl
-
Measuring jug
-
Weighing scales
-
Gloves
-
Spray bottle
Method:
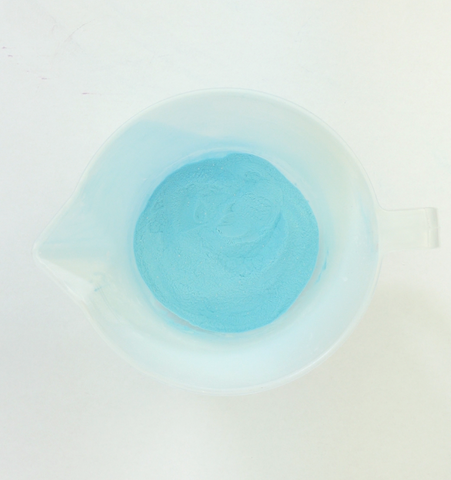
1. Mix the dry ingredients together
-
Weigh the bicarbonate of soda, kaolin clay, SLSA and mica powder.
-
Do not add the citric acid to this stage.
-
Mix these ingredients together until fully combined.
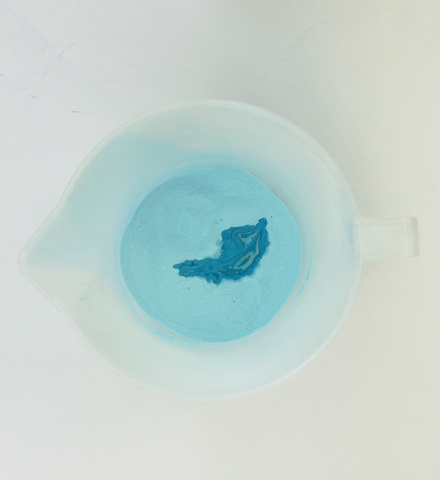
2. Add the wet ingredients
-
Measure the sweet almond oil or apricot kernel oil, essential oils, polysorbate 80 and water.
-
Mix the liquid ingredients into the bowl with the dry ingredients.
-
Make sure everything is evenly distributed and combined.
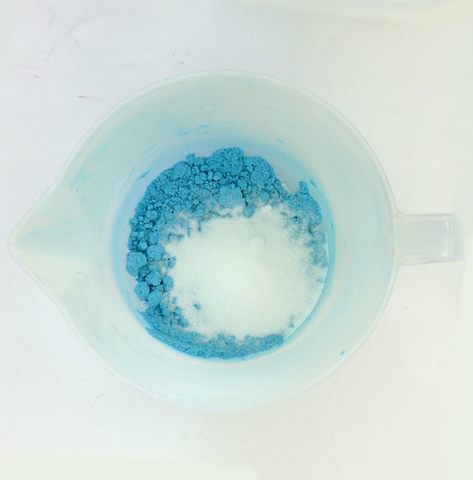
3. Add the citric acid
-
Weigh out the citric and add this to the mixture.
-
Ensure this is thoroughly mixed in.

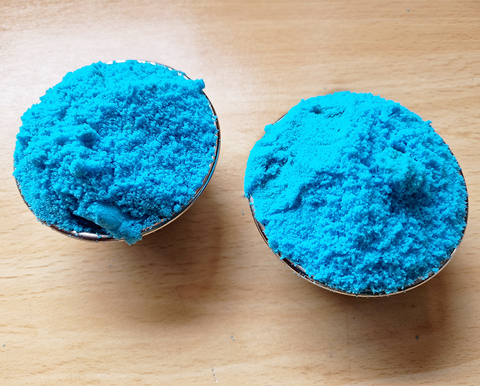
4. Test for moulding
-
Take a small amount of the mixture and squeeze it all together.
-
It should hold together well and be a similar texture to damp sand.
-
If the mixture is crumbling, you will need to add some more water (make sure not to add too much water as this may cause the citric acid to activate and make the bath bomb stick to the mould).
-
We would recommend adding the extra water with a spray bottle to make sure there isn't too much liquid added. Starting with 2 sprays and adding more if necessary.
5. Fill your moulds
-
Now the bath bomb mixture is ready to be added to the moulds.
-
Gently pat the mixture into the mould but do not pack this too tightly, this can cause the bath bomb to sink.
-
Each half of the mould should be filled so the mixture is just above the top of the mould.
-
Press the two halves together and leave to set for 30 minutes.

6. Unmould the bath bombs
-
Unmoulding the bath bombs can be a bit difficult the first few times.
-
Lightly tap the mould with a spoon and try to gently remove one half of the mould.
-
Once you have unmoulded half of the bath bomb, leave this to dry for around an hour.
-
After it has dried, turn the bath bomb and lightly tap the other half of the mould. Gently remove the mould and leave to dry again.
-
If your bath bomb has stuck to part of the mould, this may mean there was too much water in the mixture or the citric acid has started to activate in the mould.
Continue reading
Now that you've learnt how to make diy bath bombs, why not take a look at some of our other blog posts?
- Learn how to make your own bath salts with our bath salt recipe
- Want to learn how to make cold processed soap? Try our calendula soap recipe
- Learn more about our mica powder with our what is mica powder blog!
Did you try making your own homemade bath bombs? Comment below and let us know how you got on!