Want to try a beeswax soap recipe? Well, you're in the right place!
This soap recipe has our professional makers singing it's praises: "one of the best soaps I've made". This is a beeswax soap recipe not to be missed!
Follow our simple recipe to create your own beeswax soap with a dense, creamy lather and a luxury scent that will blow your mind!
But first, a couple of tips on how to use beeswax in soap making.
How to use beeswax in soap making
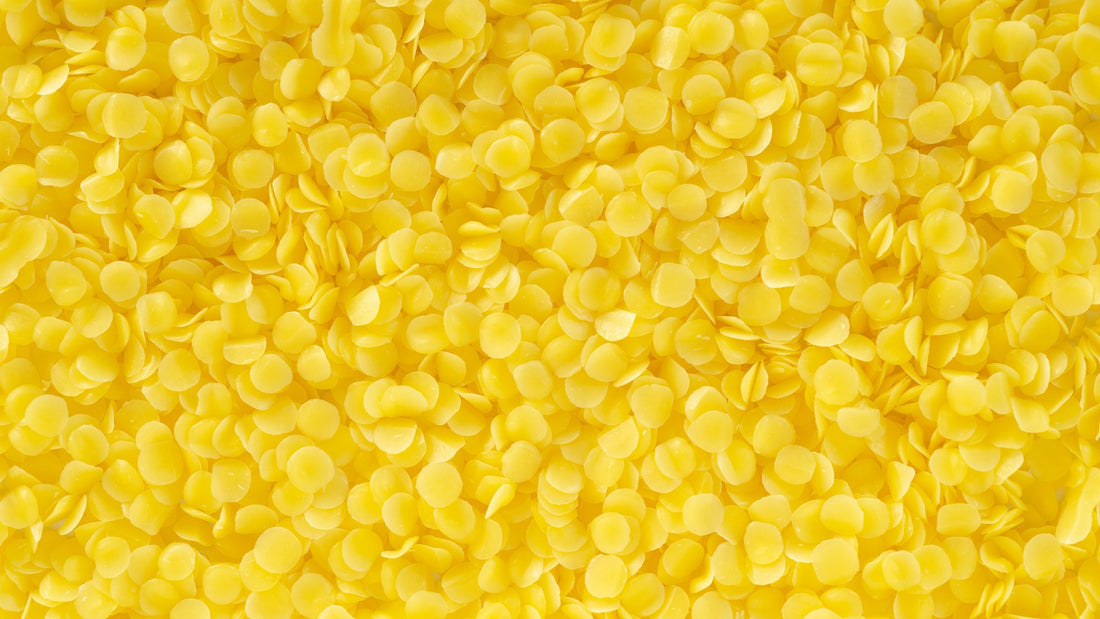
Adding beeswax to a soap recipe helps create a harder bar of soap, which should help it last longer. However, it is a little harder to make beeswax soap compared to other cold process soap recipes.
You can only use a small amount of beeswax in your soap recipe. We're using 2% of the oil weight, and we wouldn't advise trying to use more than that; it will interfere with the lather.
When you're making soap with beeswax you have to work at a higher temperature than for normal cold process soap. This is because beeswax has a higher melting point than most oils.
Beeswax soap reaches trace really fast, so make sure you have your mould close by! If you add too much beeswax, it will accelerate trace even more.
Read on for our simple beeswax soap recipe...
Equipment:
- Gloves
- Goggles
- Weighing scales
- Digital thermometer
- Heatproof bowl
- Plastic measuring jugs, ideally 2x 1L and 1x 2L
- Silicone spatula
- Soap mould or DIY alternative (Check out our range of silicone soap moulds)
- Stick blender
Ingredients:
- Olive oil 400g | 435ml
- Coconut oil 200g
- Unrefined cocoa butter 144g
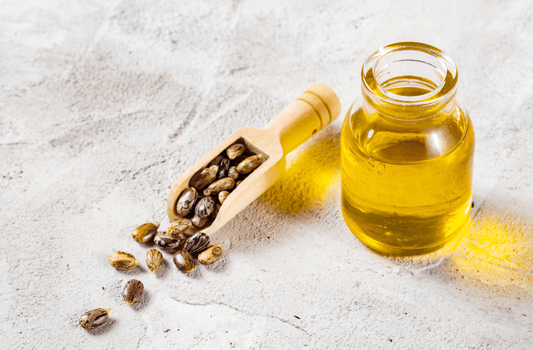
- Castor oil 40g | 42ml
- Yellow beeswax 16g
- Water 240g
- Sodium hydroxide 110g
- Cardamom essential oil 9g | 10ml
- Cedarwood atlas essential oil 2g | 2ml
- Ginger essential oil 3g | 3ml
- Lemongrass essential oil 11g | 12ml
Makes 9-10 bars of natural soap
Takes 1 hour of making time, and 4-6 weeks of curing time
Method

1. Mix the sodium hydroxide solution
- Put your gloves and goggles on
- Open a window, the fumes are unpleasant
- Weigh the sodium hydroxide
- Weigh the water
- Add the sodium hydroxide to the water not the other way around
- Mix until combined
- Leave somewhere safe to cool

2. Heat the oils and beeswax
- Weigh the olive oil, coconut oil, cocoa butter, castor oil and add beeswax into a heatproof bowl
- Melt over a pan of boiling water, or using short bursts in the microwave.
- Stir regularly until completely melted
- Once melted, leave to cool.
- In a separate jug, weigh and mix your essential oils.

3. Test the temperatures
- Test the temperature of the sodium hydroxide solution. It should be between 25C and 40C.
- Leave it to cool if necessary, but don't reheat it if it's too cool.
- Test the temperature of the oil mixture. It should be between 35C and 40C.
- Leave it to cool or reheat if necessary.
- Once the temperatures are correct, add the sodium hydroxide solution to the oil mixture.

4. Blend until trace
- Stir with the hand blender, and blend with short pulses.
- Watch for the soap batter starting to thicken.
- Test for trace by dripping soap batter on the surface of the mixture. If the drips sit on the surface before disappearing, your mixture has reached trace.
- Stop blending once your soap has reached trace.
- Add the essential oils.
- Mix and blend a little until combined.

5. Pour into moulds
- Pour your soap moulds.
- Tap on the work surface to get rid of air bubbles.
- Insulate with towels.
- Leave on a flat surface for 48 hours

6. Leave to cure
- Unmould your soap.
- Place bars with a space in between.
- Leave to cure for 4-6 weeks
Continue reading
Now that you've tried our beeswax soap recipe, why not learn more about soap making?
- Want to learn more about cold process soap making? Try our aloe vera juice soap recipe
- Interested in making honey soap? Try our honey soap recipe
- Want to learn more about essential oils for soap making? Learn more!
Did you try our beeswax soap recipe? Comment below and let us know!


2 comments
Thanks for your support, it’s great to hear that you find our recipes helpful!
Lovevwhat you do, makes everything look so easy and well explained too. Thank you